Gravity Forms to Hubspot, with a workflow for updating Business Units on new contacts
Written by 5ivecanons Staff
After hours of (wasted?) dedicated time working through what should be a really simple integration and modification for one of our clients working through Gravity Forms to Hubspot, with a workflow to update the business unit on new contacts – I’ve decided to just put it in writing that I can save someone else all the time and effort to do something else, like play Balder’s Gate 3 or spend time with your children.
Without further ado, here’s 10 steps to integrate gravity forms with hubspot, and tigger a business unit assignment with workflows.:
1. Install latest version of Gravity Forms with your license key. Having it up-to-date will give you access to all the add-ons, and ensure you’re not open to any vulnerabilities / security flaws.
2. Create the new Gravity Form and style it so it looks like you have a professional UX/UI designer on staff. Yes, you could use hubspot forms instead but you lose the redundant submission backups, which come in clutch when the sync to hubspot is not working for whatever reason.
3. Install Hubspot Add-on for Gravity Forms, and not the generic hubspot plugin. This unfortunate mistake cost me at least 2-3 hours to debug conflicts, after configuring all the extra non-essential garbage in the plugin, and literally none of it having anything to do with the forms.

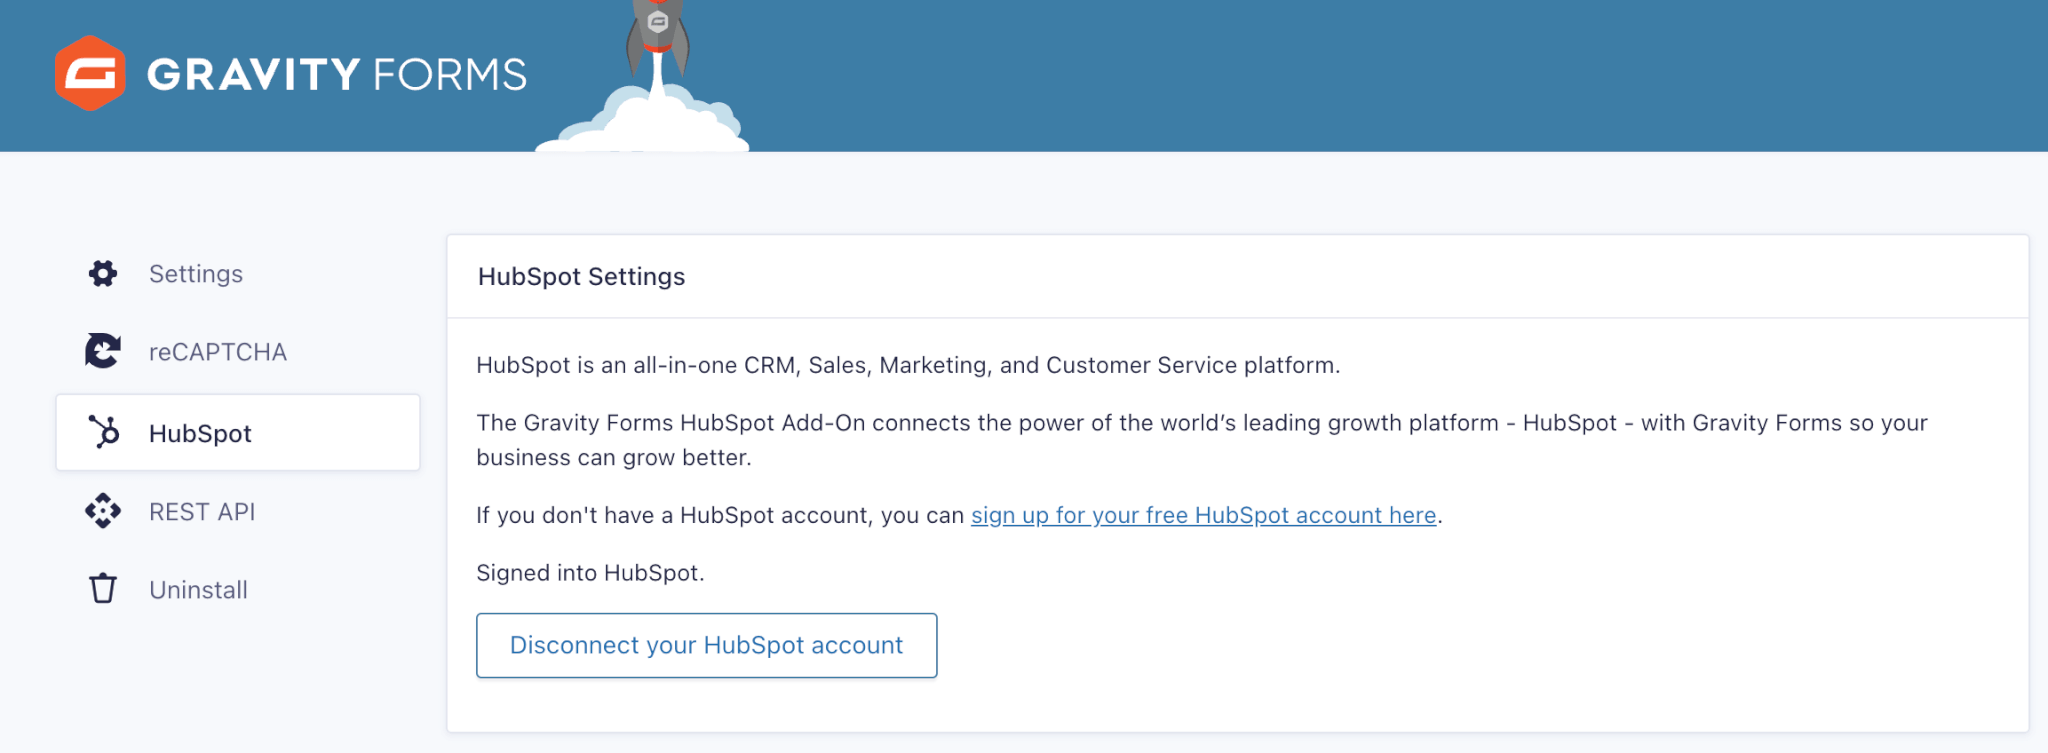
4. Configure the add-on settings to sync to the correct hubspot account. Triple check the account your sync’ing with before you save. It’s easy to click the wrong one when you have a long list and some have the same name or prefix.
5. Configure the gravity form settings for hubspot. This is essential to mapping the correct information, including name, email, phone, notes, etc. Take the time to ensure the property and the forms match. Something also to note here is that if you do not use Gravity Forms names module and instead use single line input for the name, Hubspot can’t store both first and last name seperately, because it’s pulling that data from one single input that has both together.
6. Confirm the new form is present in hubspot. Click on marketing > lead capture > forms and look for the name you configured in step 5. Should be at the top of the list unless other people are creating forms at the same time. If you don’t see the form name, then either you didn’t configure the right hubspot account, or you have a plugin conflicting with the add-on. Good luck with that lol.
7. Test the form submission from start to finish. Here’s a detailed QA checklist to follow:
- Test field inputs for validation – ie not typing in required fields, putting in fewer digits for a phone number, putting in email with @gmail.com, typos, etc.
- After successful submission – ensure there’s a thank you message or page redirect
- Confirm submission is in form entries.
- Confirm email notification was received with all relevant info
- Confirm contact was created in hubspot contacts
- If you aren’t seeing this happen, you need to roll back a few steps. Sucks for you, but bro you are not alone. Hours of wasted time were the inspiration for this shitty blog.
8. Now let’s create a magic workflow in hubspot to update business units. Click workflow from main dashboard to create a new one. DO NOT try to create a work flow / automation (new feature) when viewing the form drill down page in hubspot. You will waste more fucking time doing that, even though it feels very intuitive – it provides a very restricted set of actions and none of which will update the business unit, which is next level frustrating. Tears on your keyboard frustrating.
9. Configure your new workflow carefully, read and think through how you want things to process. Here’s best practice for this process:
- Create the trigger for the hubspot workflow to happen with form submission, by name, and select your Gravity Form from the dropdown. Bonus feature, you can trigger the workflow from one or more forms at the same time. This is pure magic if you have different forms for different reasons on your site.
- Add a delay, or don’t, next steps work regardless.
- Add an action to clear the data for the business unit. I’ve seen our forms automatically add a business unit by default because they are using that primary company when configuring in step
- Add an action to add business unit then select the correct business unit. Double check your selection. Trust.
- Save and test again, to ensure everything is gravy baby.
Please note, hubspot will overwrite your test contacts if you are testing multiple forms on your site. It knows you’re the same person because of your IP, and will show that contact as an entry in multiple forms, but only have one contact in your list that changes names, and information each time you submit the test.
Hopefully this was an easy tutorial, and none of the bad shit happens to you because you read this emotionally-filled how-to on gravity form and hubspot integration with business unit workflows. If you are experiencing the blood-boiling issues with your site, give our Jacksonville advertising agency a call at your convenience – 904.353.2900.
